Here is the skimmer return assembly. The gate valve allows me to adjust the water level in the skimmer.
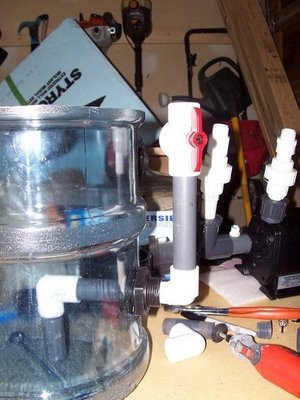 I also cut the lip off the neck of the bottle so that 1 1/2" PVC would fit. The PVC is also secured for now with silicone.
 The skimmer is fed with a small pump I had kicking around. I don't want too much flow through the skimmer so that the bubbles have more time to react with the organic matter.
 And here's the skimming unit in a 50G. sump.
 I have allowed the silicone to cure, filled my sump partially with saltwater and am now ready to take her out for sea trials. I add some delicious skimmate from my coralife 125 superskimmer to the sump and mix it all around. This is about three days of dry skimmings worth.
 Somethings happening!!!
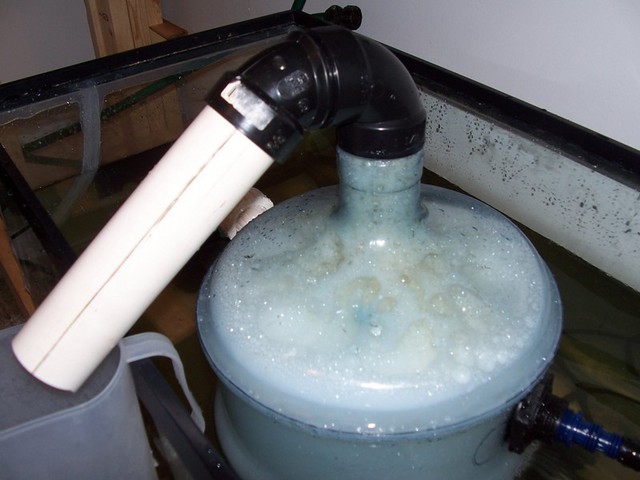 This is what I have after 1 hour. It is a dark, dry skimmate.
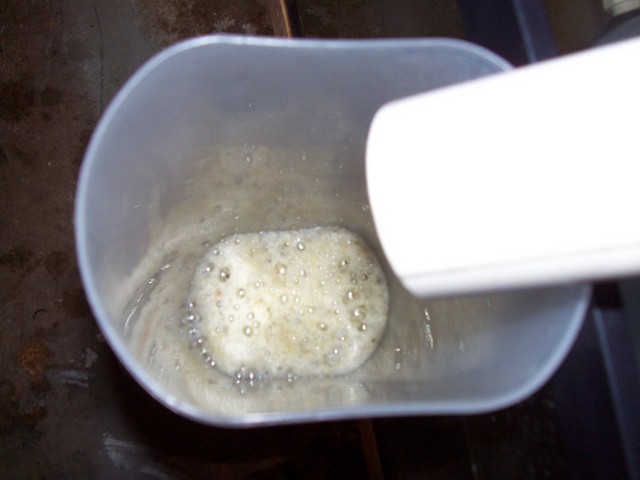
 After a bit I dumped the skimmate back into the sump and adjusted the gate valve to allow for a more wettish skimming flow. This is after 1 hour of wet skimming.
Project realised, written, photo and video documented by Dale - http://theaquaticcafe.blogspot.com/
The DIY protein skimmer video click here, please!
All rights reserved !
posted by Dusko Bojic aka Che Guebuddha @ 8:21 AM
![]()


<< Home